|
Uggggghhhhh look what I bought today. 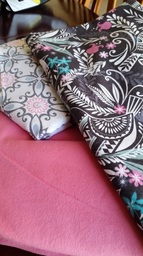 Bad Daydree! Bad! Bad! It was just so freaking cute! And my best friend from high school just announced she is having a girl, so I HAD to go get something special for her. Right? AND I bought enough to make three blanket sets so I can sell the others, which means they are all tax deductible. Get off my back, okay? In other news, I did some work today! One step closer to getting something ready to list on Etsy, which hopefully means one step closer to recouping some of these, erm, "business" expenditures.  6 burp cloths and 3 finished quilt faces. Not bad with aI made fairly quick work of the fabric sets I cut out last time. The pressing and cutting part really is the most time consuming and labor intensive part. (Perhaps I should consider outsourcing that part to my much craftier and far more talented friend Tiffany for a cut of the theoretical profits.) I started by piecing together the stripes for the quilt face with a 3/8" seam. 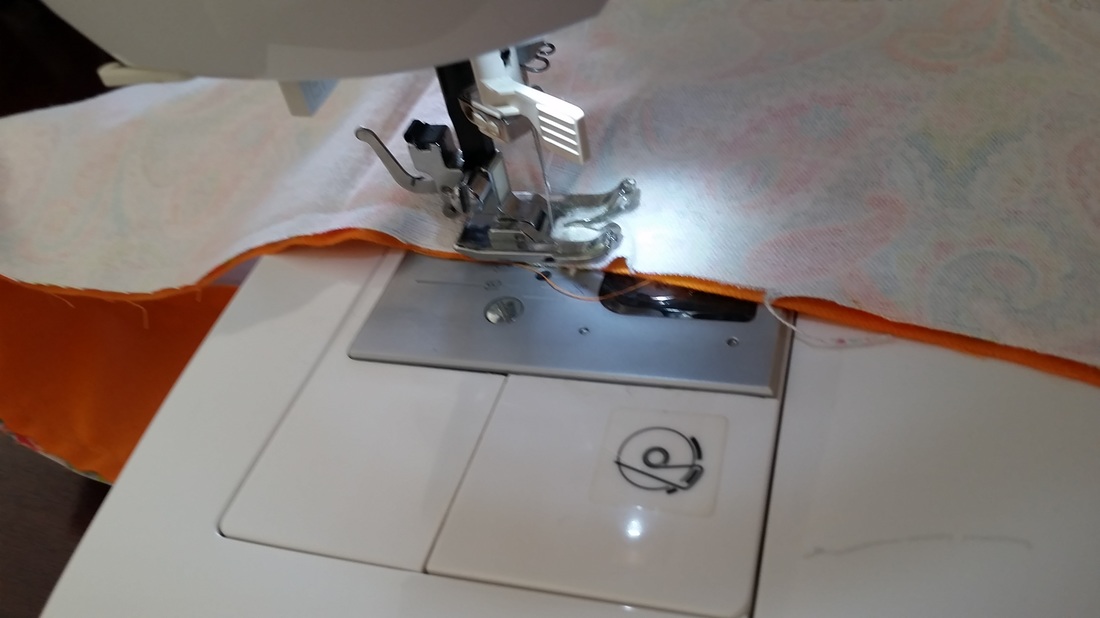 Two REALLY important tips:
Oh, another good tip? Put the most friction-y fabric on top--UNlike I did here--and you'll get less shifting than I had to deal with. 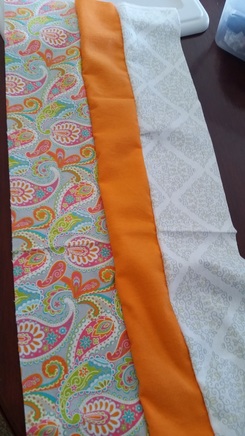 A three-stripe stripe 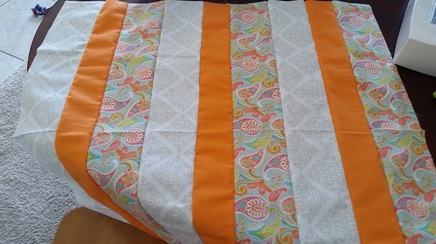 A three three-stripe stripe. AKA a finished face Multiply by three again to get three finished faces. Then it was time to bust out the iron to press the seams flat. Pressing the seams is what will give the quilt a crisp, finished look. (Interesting aside: the iron steam did not really smell like pee today. This has me more worried than I was before.) 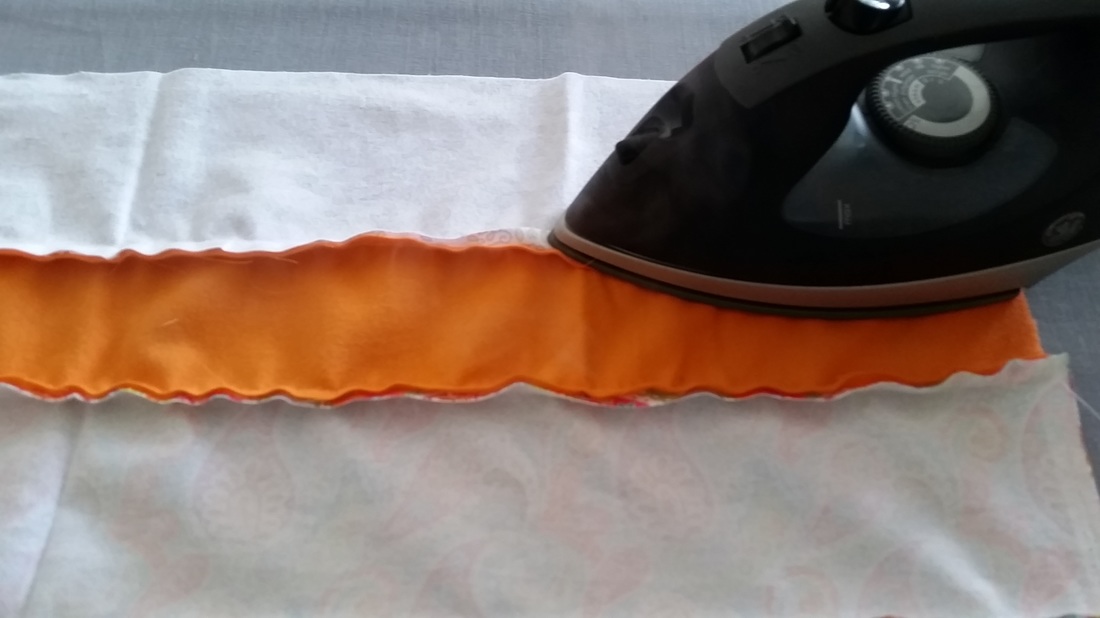 I separate the two halves of the seam with my fingers and bring the iron in behind to press them open and flat. 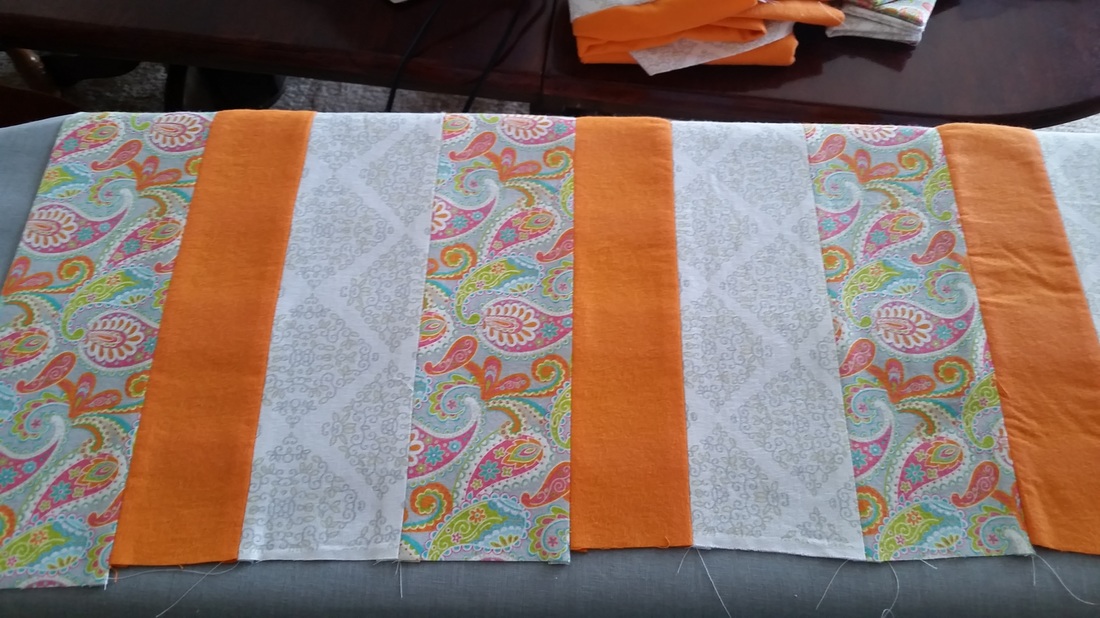 Flip it over and press the whole thing, this time running the iron perpendicular to the stripes. Compare the left side to the unpressed right side. Big difference, huh? Speaking of that pesky right side, though. I did have some trouble with the orange fabric. Since it is a different texture than the patterned fabrics, it kept getting unintentionally stretched as I went down the line, which caused a bit of a ruffling effect that I was not really going for. 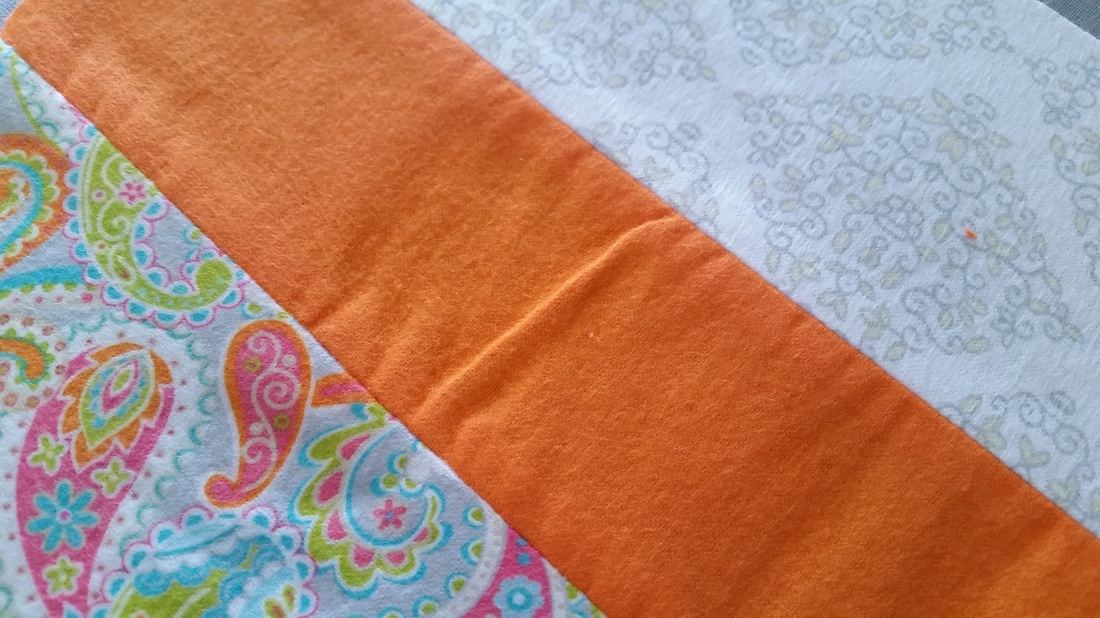 Ruffles are awesome, but not so much in the middle of your quilt. I was able to alleviate this by adjusting what I assume is the tension nob and finished all three faces in about four episodes of Fuller House. (Got it keep it child-friendly as we're talking daylight hours here. And I already finished watching all the episodes of "The League" that are on Netflix.) 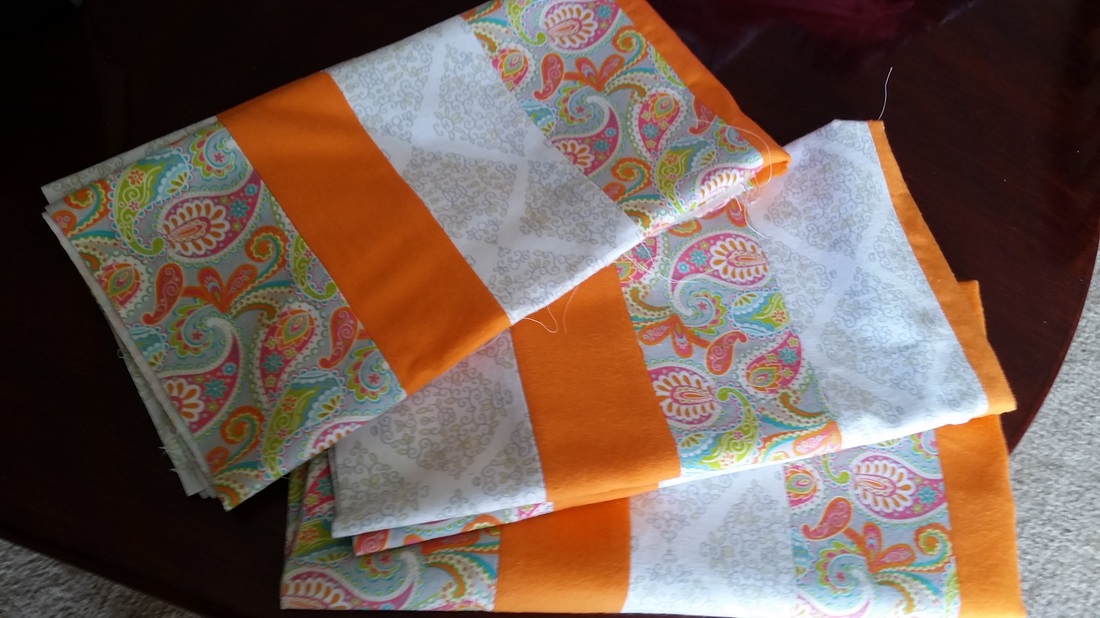 Ta Da! On to the burp cloths! For these, I use store-bought pre-folded diapers as the base. They are very absorbent and they are a good size, even if the craftsmanship leaves a bit to be desired. (I thought *I* had trouble sewing straight. Sheesh.) Anyway, that's why I dress them up with coordinating fabric for out-and-about fabulousness. 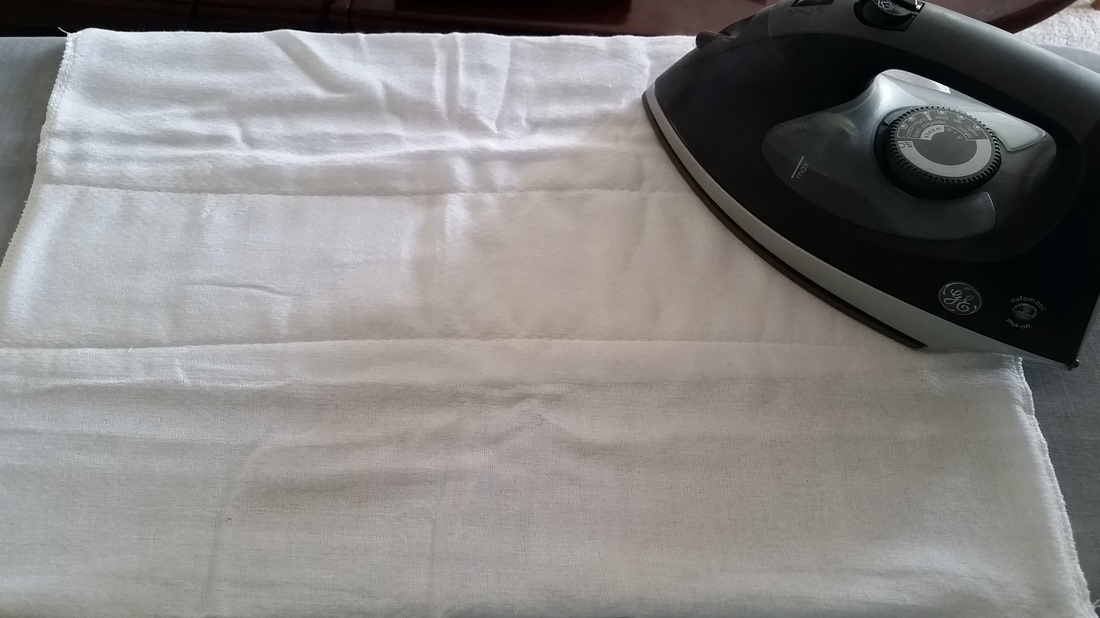 Iron out the worst of the kinks. (They won't all come out, but that's okay.) 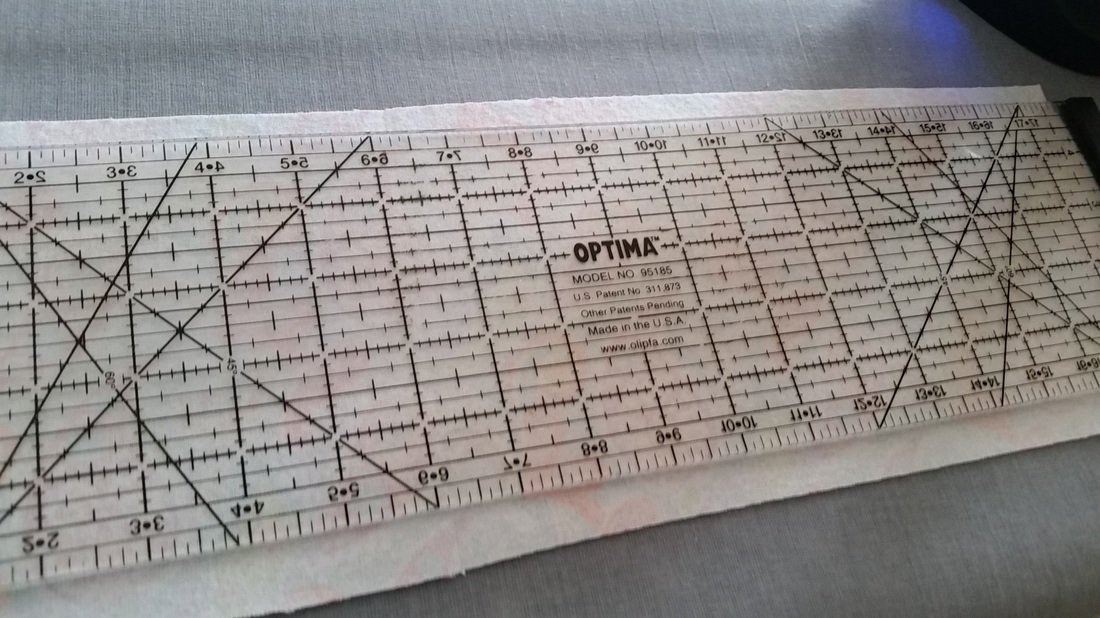 And press the patterned fabric wrong side up. I use this handy dandy ruler to just draw straight lines down the sides for the seams, and then iron the seams flat. 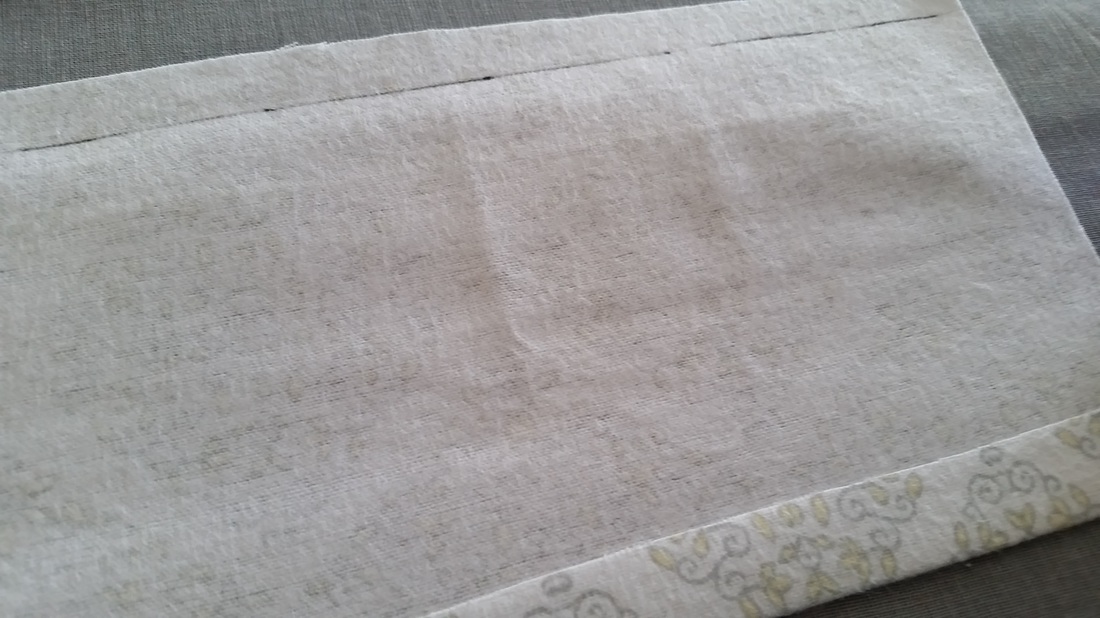 Like so Pin in place going down the center of the pre-fold diaper, and repeat. And repeat. And repeat. And repeat. And repeat. The first one, I decided to use a zigzag stitch. This was problematic though, as my nice zig zag turned into a funk zag on the face. 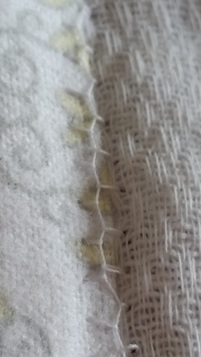 Apparently this means my tension is off. Likely because the internal mechanisms are full of fluff and dust and stuff. I'll have to deal with this later. After this first burp cloth, I switched back to straight-stitching. I also gave myself too wide of a seam allowance on the top and bottom edges. The pre-fold diapers are really uneven here, and I try to use my fabric on top to even out the appearance on the front a bit. But this means that I can't see where the tri-fold diaper is to know how much clearance I have before I run off the edge. 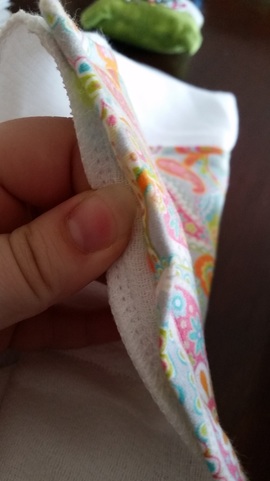 The result was this pretty wide gap. But it had a pretty simple solution: flip the burp cloth over and follow the diaper seam as closely to the edge as possible. It meant more back stitching because I had to do the lines separately, but worth it in the end. 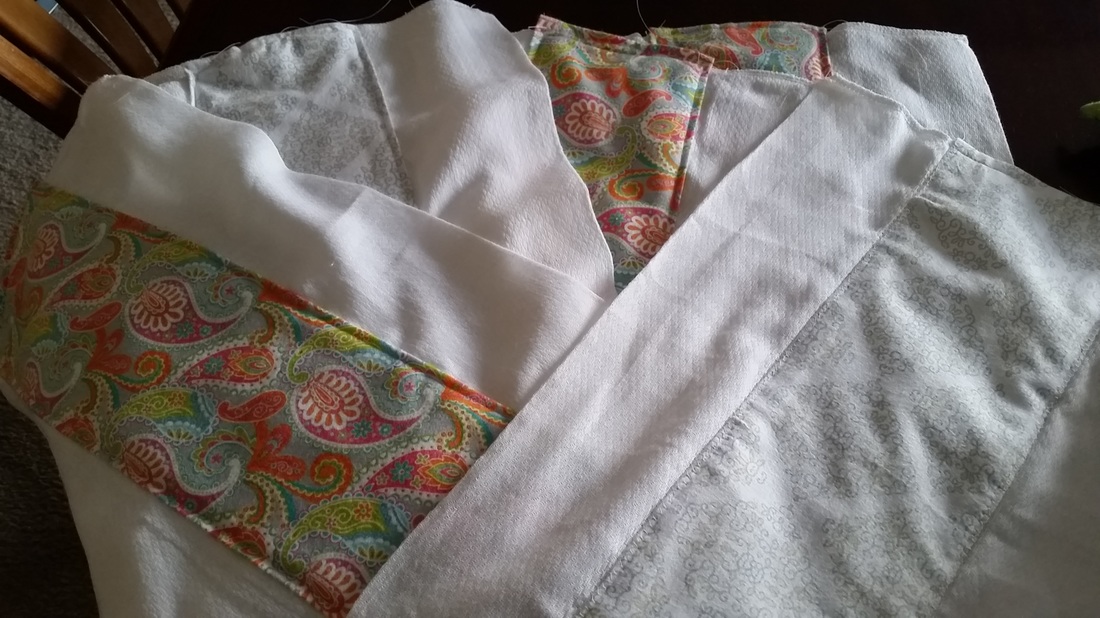 Six finished burp cloths, ready to be spat up on. And my neat little bundles, all ready for the final step. Hint: I THINK it's going to involve my new Serger that I got for Christmas and have been afraid to take out of the box! I was pleased to see that all but one of them came out pretty darn close to 31" square, and line up pretty well with the 31" square orange backing pieces.  So who's ready to put in a preorder ;) ?
2 Comments
My husband went on a guys-only camping trip this past weekend, so I put my son to bed early, cracked open a can of Dr. Thunder, and took over the bedroom and kitchen for a wild night of Crash Course Economics, ironing, and rotary cutting. Fast forward fifteen episodes, and you can see the results: three sets quilt and burp cloth pieces, ready for stitching. 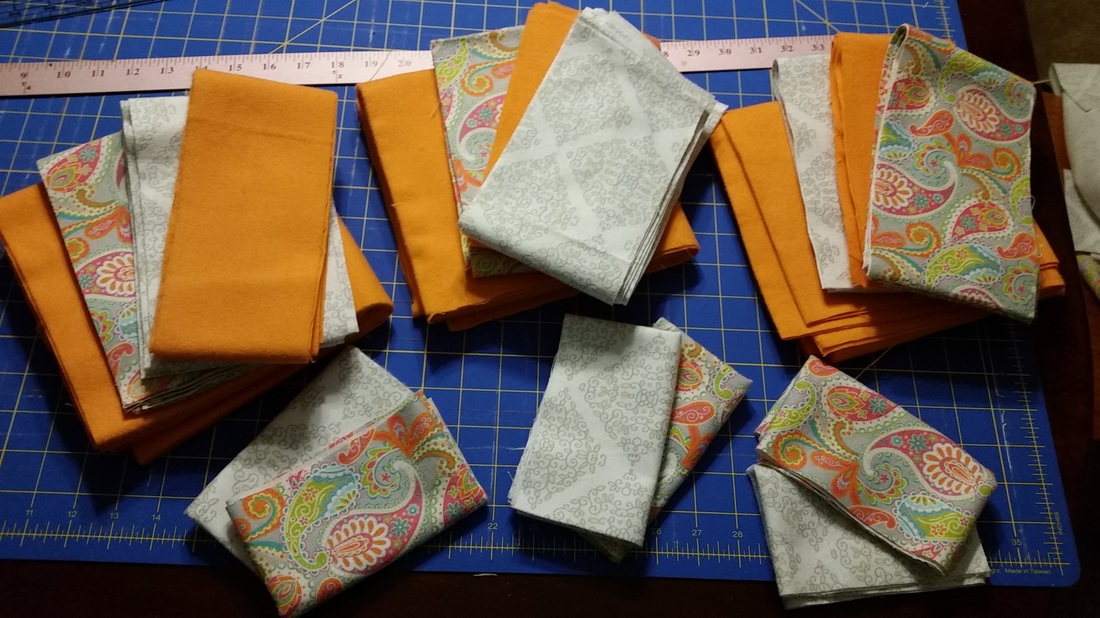 I have a bit of leftover fabric, as seen here. It may seem like a big pile but it is actually a lot less than I usually have, so I have succeeded in purchasing/using materials more effectively. I can either toss these scraps (and not feel too bad in doing so) or perhaps use them to piece together little loveys to include in the set. I'll think about it. 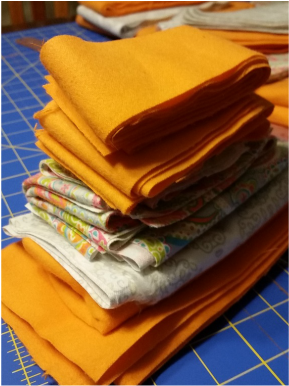 Unfortunately, it was not as easy or as quick to get these cut as I was hoping. Particularly because I did not really account for factors like motivation [lack thereof], energy levels [lack thereof], and a sore back from bending over awkwardly. Finding a different time of day (not 2am) may help alleviate this. The pros:
The cons:
So here's a look at the process I came up with. Lesson 1. Measure and iron together. You don't need to mark the fabric if you can use the crease instead. When fabric comes off the bolt, it is already folded in half so that it measures 21" wide (I'm working with 42" wide fabric.) Since I want my cut to be 31", I went ahead and ironed out that natural crease. Then I folded over one edge of the fabric 15.5" in and pressed that seam. For the backing piece, I went ahead and took this edge all the way down the 3-yard length of the fabric.  You can see the pressed edge and how the fabric comes partway across (15.5" across, to be exact.) You can also see the uneven edge (on top where the edges don't line up.) This is where the fabric store cuts from the bolt, and they are notoriously NOT straight. My next task is to square up this edge. I used my husband's handy dandy T-ruler thingamajigger (that's the scientific term for it.) Eventually I figured out that this wasn't necessarily any more helpful than my regular yard sticks and rulers. Lesson 2. Measure twice, cut once. Not really a new lesson, but I was being very careful since I knew I had virtually no room for mistakes with the backing. My first cut was along that uneven edge to square up the fabric. VERY important to get this actually square, otherwise it will mess up pretty much every other cut that comes after. Second cut was along that 31" line created by the overlap. Since the fabric is 3 yards long, I didn't make this one single cut all the way across. Once I passed the 31" mark, I made a perpendicular cut to remove an entire 31"x31" square. Then I picked up where I left off along the length of the fabric and repeated two more times for a total of 3 31" squares. The pieces left over would become my 9 3.5"x31" strips: 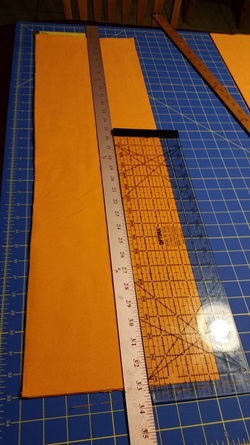 Lesson 3: Two rulers make a match. That doesn't really make any sense, but this is perhaps the most useful trick that I picked up for the night. My clear ruler is super handy for measuring out the stripes, BUT since I am right handed I couldn't use my rotary cutter on its left side. So I just got my yard stick and butted up flush against the clear ruler and VOILA. No. Don't ask me why I just didn't measure from the left side of the fabric and skipped the need for this double-ruler thing altogether. There was a reason, I just can't remember. After that, I pretty much repeated with the two patterned fabrics, except skipping straight to the 31" by 4.5" strips. The burp cloths are a little more flexible, but ended up being 21" long and about 7-8" wide.  There you go. I started from the left side on this one. HAPPY NOW?? |
What is a 20% Project?One of the reasons why Google comes up with the most innovative new technologies is because they allow their employees one day a week (or 20% of their paid time) to pursue their own passions: to work on ANY development that they want. Click to set custom HTML Follow Daydree's board 20% Project on Pinterest.
Archives
May 2016
Categories |
 RSS Feed
